Blanching
Briefly boiling food then plunging it into ice water to stop cooking — used to preserve color, texture, and nutrients.
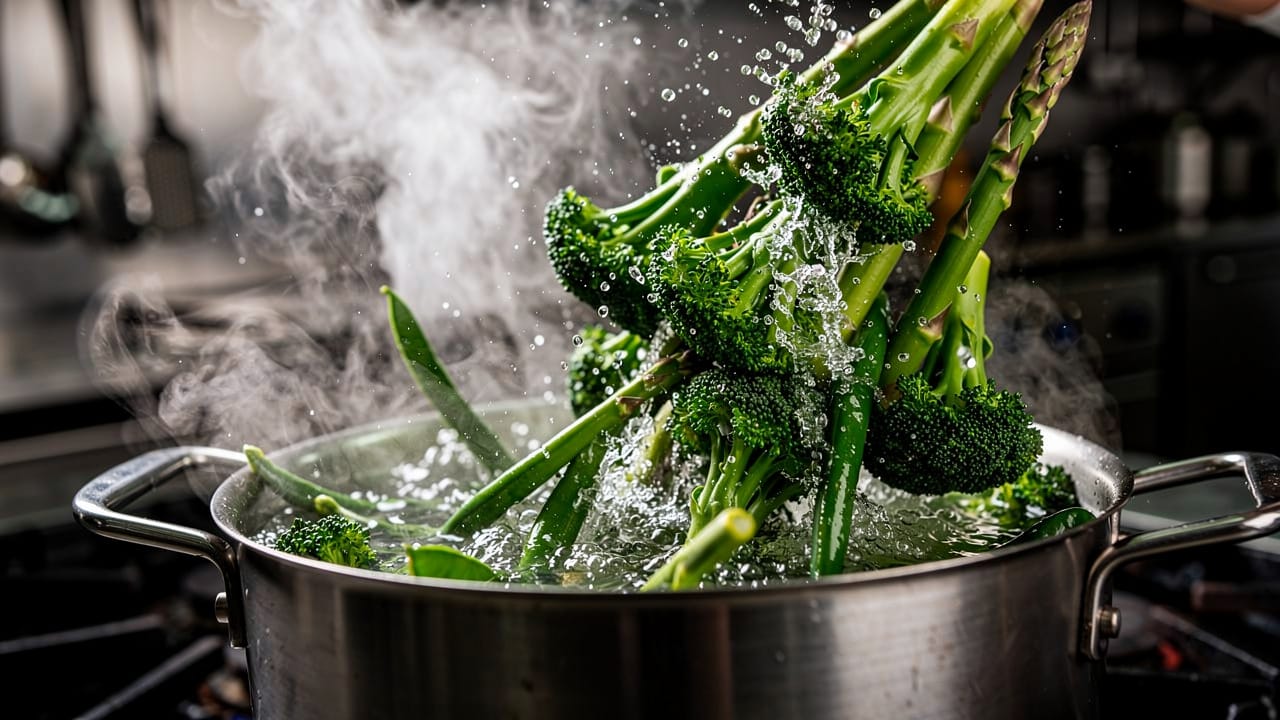
Blanching is a two-step cooking technique: briefly boil food in salted water, then immediately transfer it to an ice bath to stop the cooking. The full two-step process is known as blanch and shock. It is one of the most useful techniques in any kitchen — fast, forgiving, and the difference between dull, mushy vegetables and vibrant, crisp ones.
Professional kitchens blanch vegetables constantly. It is how restaurants serve bright green beans, perfectly tender asparagus, and vegetables that look as good as they taste. The technique is equally valuable for home cooks, especially for meal prep, freezing, and getting restaurant-quality results from simple ingredients.
When to blanch
Before freezing. Blanching is essential for vegetables you plan to freeze. Without it, enzymes continue to work during frozen storage, degrading flavor, color, and texture over weeks. Blanched vegetables maintain their quality for 6-12 months in the freezer; unblanched ones deteriorate within weeks.
For peeling. Tomatoes, peaches, nectarines, and almonds peel effortlessly after 30-60 seconds of blanching. The brief heat loosens the skin without cooking the flesh. Score an X on the bottom of tomatoes before blanching for even easier peeling.
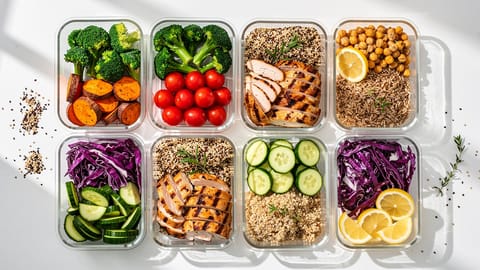
For salads and cold dishes. Blanched green beans, broccoli, asparagus, and snap peas stay vibrant green and perfectly tender-crisp — ideal for salads, crudités, and grain bowls.
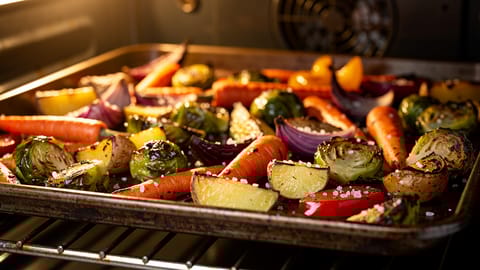
Before sautéing or roasting. Par-blanching dense vegetables like broccoli, cauliflower, or root vegetables ensures they cook evenly when you finish them in a hot pan or oven. Without this step, the outside overcooks before the center is tender.
To reduce bitterness. Blanching tames the sharpness of vegetables like rapini, kale, and Brussels sprouts by leaching out bitter compounds.
How to blanch step by step
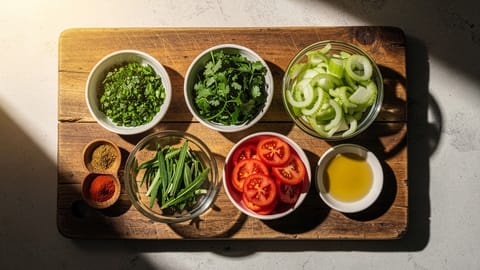
Having your mise en place ready before you start is critical — blanching moves fast.
- Bring a large pot of generously salted water to a rolling boil — use about 4 liters per 500g of vegetables. The water should taste like mild seawater. A large volume of water recovers its boil quickly after adding cold vegetables
- Prepare an ice bath — fill a large bowl with equal parts ice and cold water. The ice bath must be ready before the vegetables go in the pot
- Drop the food into the boiling water — work in batches if needed so the water stays at a boil. Start your timer immediately
- Cook for the specified time — this varies from 30 seconds (tomatoes) to 5 minutes (corn on the cob). See the table below
- Transfer immediately to the ice bath — use a spider strainer or slotted spoon. This is the critical step that halts carryover cooking and locks in color
- Drain and dry thoroughly — once the vegetables are completely cool (30-60 seconds in the ice bath), drain and pat dry with towels. Excess moisture causes problems during freezing, sautéing, or storage
Blanching times for common vegetables
| Vegetable | Blanching time | Notes |
|---|---|---|
| Green beans | 2-3 min | Trim ends first |
| Broccoli florets | 2-3 min | Cut uniform size |
| Asparagus (thin) | 1-2 min | Snap off woody ends |
| Asparagus (thick) | 2-3 min | Peel lower stalks |
| Cauliflower florets | 2-3 min | Cut uniform size |
| Snap peas / snow peas | 1-2 min | String if needed |
| Brussels sprouts (halved) | 3-4 min | Cut in half for even cooking |
| Corn on the cob | 4-5 min | Whole ears |
| Carrots (sliced) | 2-3 min | 1/4 inch slices |
| Kale / chard (leaves) | 1-2 min | Remove tough stems |
| Spinach | 30-45 sec | Very quick — wilts fast |
| Tomatoes (for peeling) | 30 sec | Score X on bottom |
| Peaches (for peeling) | 30-60 sec | Score X on bottom |
| Almonds (for peeling) | 1 min | Squeeze skins off after |
These times are for sea-level cooking. At high altitude (above 5,000 ft / 1,500 m), add 1 minute to blanching times.
Why blanching works
The brief boil deactivates peroxidase and catalase — enzymes naturally present in vegetables that are responsible for off-flavors, texture breakdown, and color loss during storage. The ice bath halts cooking instantly, so vegetables stay crisp-tender instead of turning soft.
The combination of heat exposure and rapid cooling also:
- Brightens color — chlorophyll becomes more vivid during the first seconds of heat exposure before it starts to degrade. The ice bath locks in this bright stage
- Kills surface bacteria — reducing microbial load extends shelf life for fresh and frozen storage
- Softens cell walls slightly — making vegetables more receptive to seasonings and dressings
- Preserves vitamins — the short cooking time and rapid cooling minimize nutrient loss compared to prolonged cooking
Blanching vs other techniques
| Method | How it works | Best for |
|---|---|---|
| Blanching | Boil + ice bath | Color preservation, freezing prep, peeling |
| Poaching | Gentle simmering (160-180°F) | Delicate proteins (eggs, fish) |
| Steaming | Steam heat, no submersion | Vegetables when you want to retain more nutrients |
| Shocking | Ice bath only (after any cooking) | Stopping carryover cooking from any method |
| Parboiling | Partial boil, no ice bath | Pre-cooking before grilling or roasting |
The key difference between blanching and parboiling is the ice bath. Without it, residual heat continues cooking the food — this is carryover cooking, and it can turn perfectly timed vegetables mushy.
Tips for better blanching
Salt your water generously. This is your one chance to season the vegetables from the inside. Unsalted blanching water produces bland vegetables no matter how you finish them.
Use enough water. A large volume recovers its boil faster when cold vegetables are added. If the water stops boiling for too long, vegetables cook unevenly and lose color.
Work in batches. Overcrowding drops the water temperature dramatically. Blanch in portions to keep the water at a rolling boil throughout.
Use enough ice. If the ice melts before the vegetables are fully cooled, they keep cooking. Use at least as much ice as water in your bowl.
Dry thoroughly. Wet blanched vegetables will steam instead of searing when you sauté them, and they'll develop freezer burn if frozen. Spread on towels and pat dry, or use a salad spinner for leafy greens.
Use a spider strainer. A wire spider transfers vegetables faster than draining the whole pot, and you can reuse the same boiling water for multiple batches of different vegetables.
Blanching in Fond
Fond's Cook Mode includes built-in timers for blanching. Set the exact time for each vegetable and get an alert when it's time to transfer to the ice bath. When a recipe includes blanching as a prep step, Fond sequences it into your cooking timeline so you can blanch vegetables while other components cook.
Frequently asked questions
Can you blanch in the microwave?
Technically, yes — microwave blanching works for small quantities. Place vegetables in a microwave-safe bowl with a few tablespoons of water, cover, and microwave on high for the equivalent blanching time. However, results are less consistent than stovetop blanching, especially for color preservation.
Do you need to blanch vegetables before stir-frying?
Not usually. Stir-frying cooks vegetables quickly over very high heat. However, par-blanching dense vegetables like broccoli or cauliflower for 1-2 minutes ensures they cook through without the exterior burning.
Can you over-blanch?
Yes. Leaving vegetables in the boiling water too long defeats the purpose — they'll be overcooked and lose the bright color and crisp texture you're trying to preserve. Use a timer and transfer to the ice bath promptly.
Can you reuse blanching water?
Yes. Keep the water at a boil and blanch multiple batches in the same pot. Blanch milder vegetables first (beans, peas) and more strongly flavored ones later (broccoli, Brussels sprouts). Refresh the ice bath between batches.

Cook smarter
Join the waitlist for Fond. Recipes, meal plans, and a little AI sous-chef that learns how you cook.
Related terms

Blanch and shock
The blanch and shock technique involves briefly cooking food in boiling salted water, then immediately plunging it into ice water to stop cooking. It locks in color, texture, and nutrients in vegetables, and is used for meal prep, freezing, peeling, and brightening dishes.
Carryover Cooking
The phenomenon where food continues to cook after being removed from heat, as residual thermal energy from the exterior migrates to the cooler interior.
Meal Prep
Preparing meals or meal components in advance, typically for the week ahead, to save time and reduce daily cooking effort.
Mise en Place
The practice of preparing and organizing all ingredients before cooking — everything in its place.
Poaching
Gentle cooking technique using liquid at low temperatures (160-180°F) to preserve the delicate texture of eggs, fish, and poultry.
Roasting
Dry-heat oven cooking method that caramelizes the exterior while keeping the interior moist and tender.
Searing
High-heat browning technique that creates a flavorful Maillard crust on meat, fish, or vegetables.
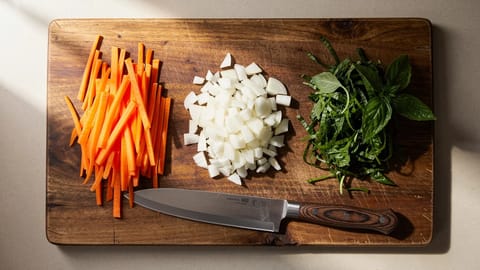
Types of knife cuts: the complete guide for home cooks
Professional chefs learn 12+ standard knife cuts in culinary school. Home cooks usually learn zero. That gap shows up on the plate — in uneven cooking, mushy textures, and dishes that never quite look like the recipe photo.